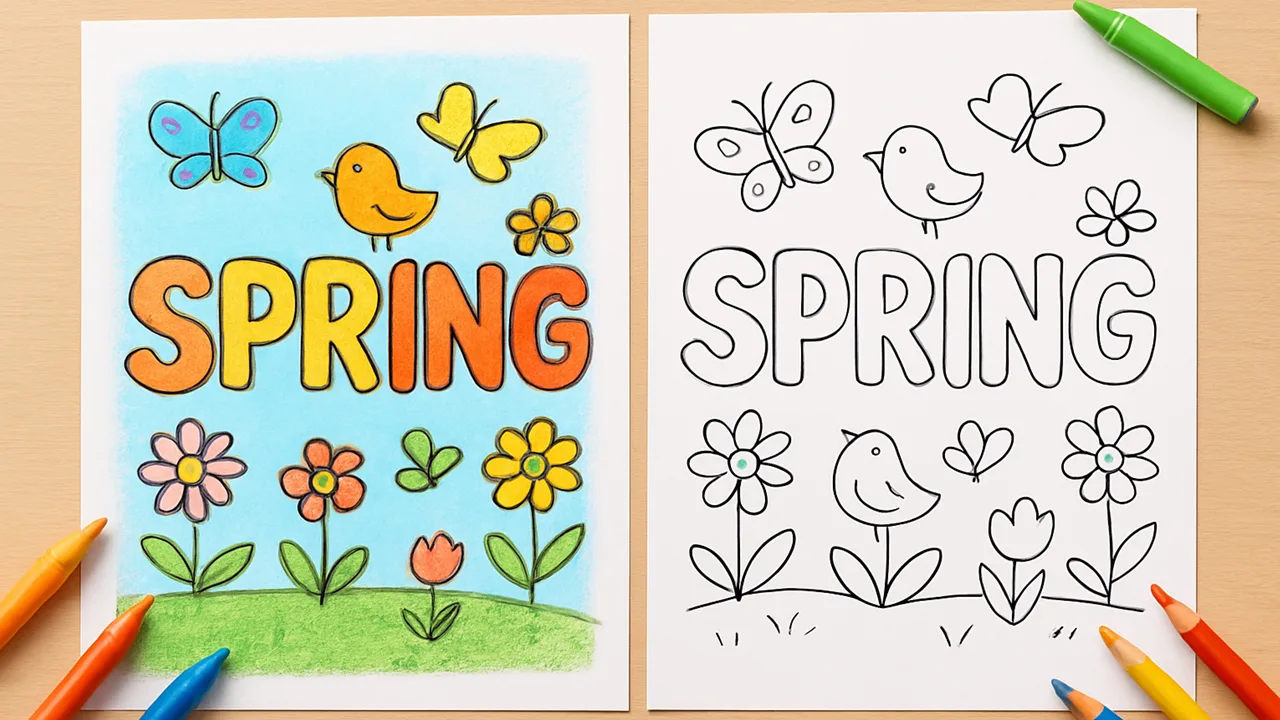
Welcome the beauty of spring with our cheerful collection of Spring Coloring Pages! Bursting with blooming flowers, playful baby animals, and singing birds, each design captures the wonder and energy of this colorful season. Whether your kids love using crayons, markers, or colored pencils, they’ll have endless fun bringing each page to life.
These Spring Coloring Sheets are more than just an art activity—they’re a hands-on way for kids to learn and grow. As little artists fill in each page, they practice fine motor skills, explore bright color combinations, and connect with the magic of nature. From buzzing bees and sprouting flowers to sunny skies and chirping birds, every sheet offers a chance to create something unique and memorable.
Free Printable Coloring pages for spring
Download our free printable Spring Coloring Sheets (PDF) and bring the season to life with fun designs. Each coloring sheet includes simple outlines for younger kids and detailed patterns for older ones, making it perfect for all ages. Print, color, and create your own spring masterpiece today!
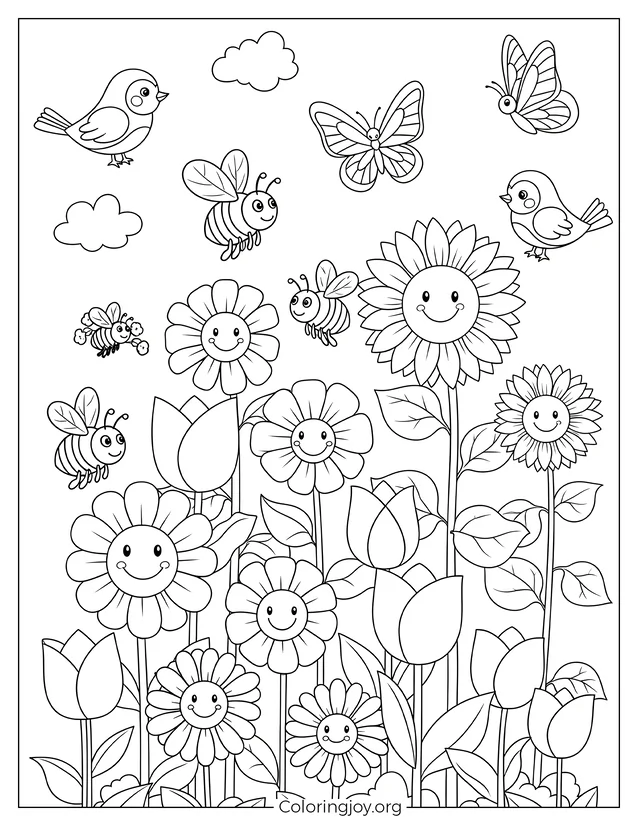
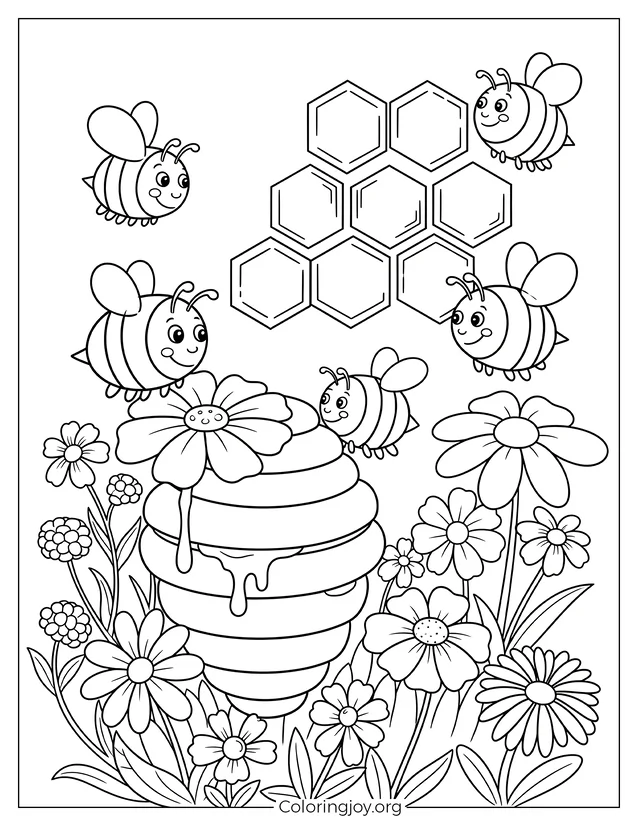
Garden Flowers and Bees Coloring Page
Spring Meadow Coloring Page
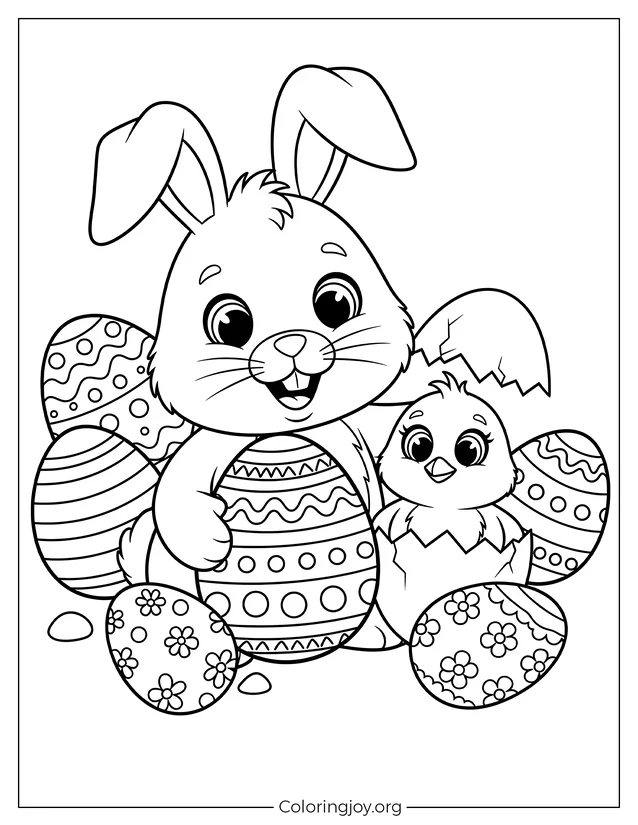
Easy page of Easter Bunny with Egg to color
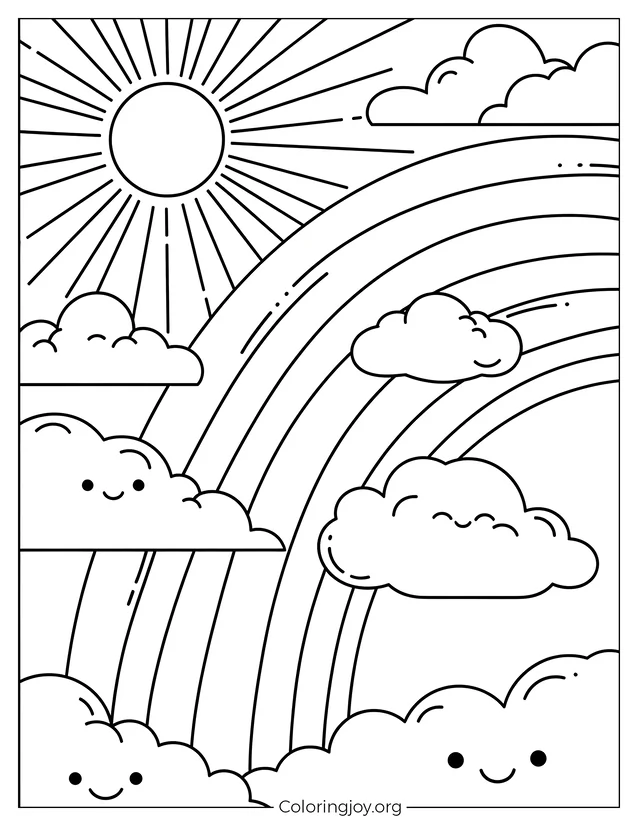
Easy Smiling Sun with Rainbow to color
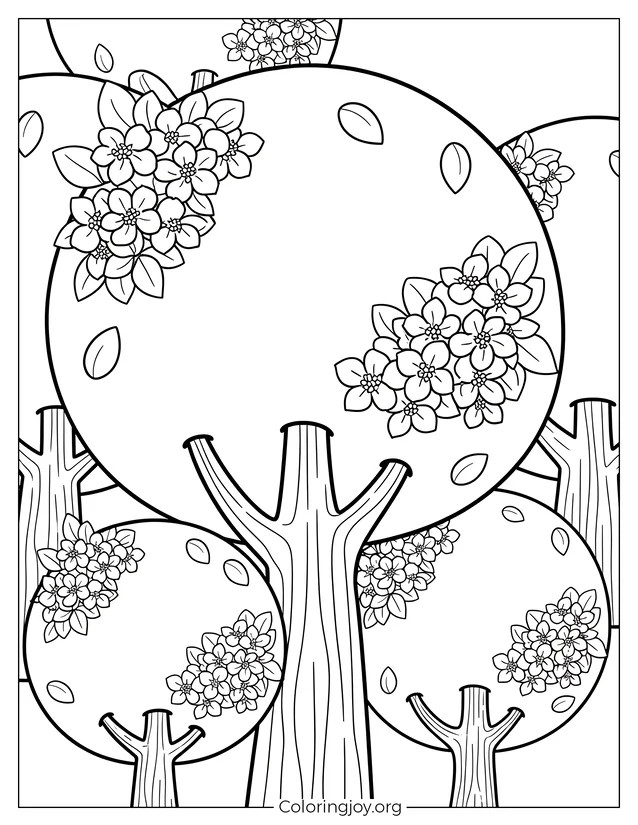
Simple Spring Trees Coloring Sheet

Friendly Frogs at the Pond coloring page for Toddler

Easy Spring Birds to Color
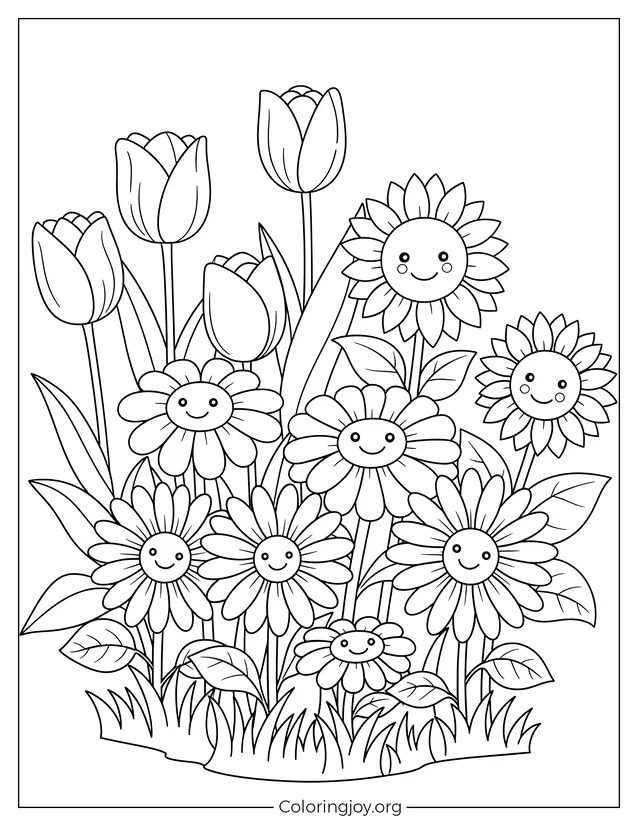
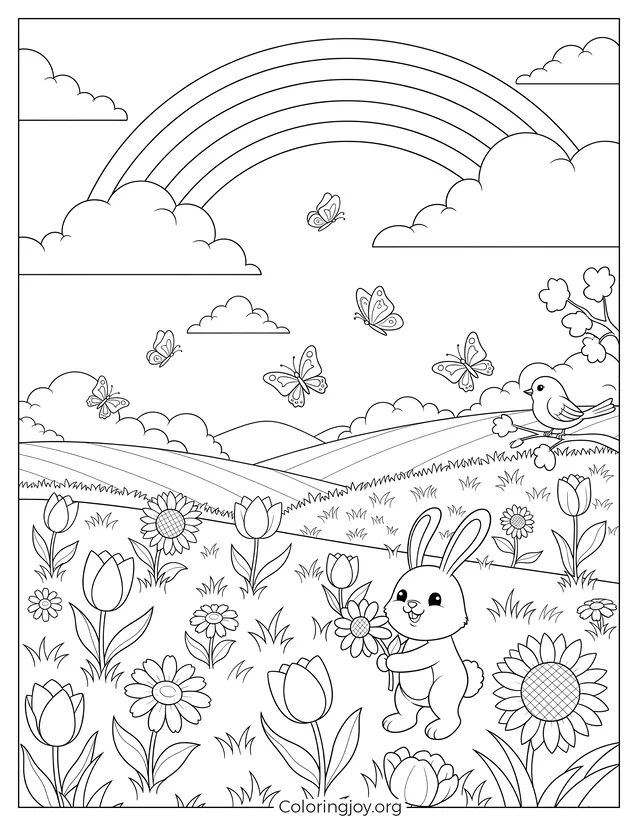
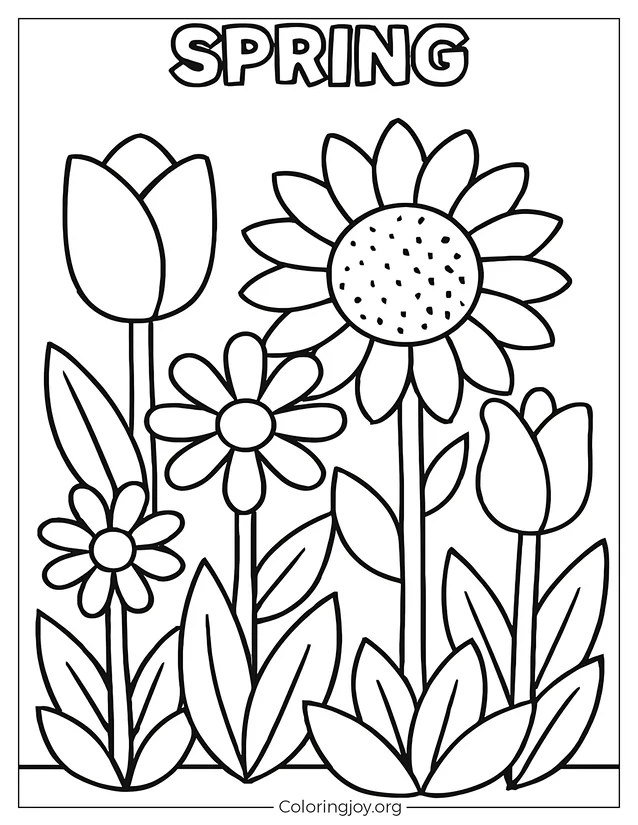
Spring Flower Field Coloring Sheet
Happy Bees and Flowers
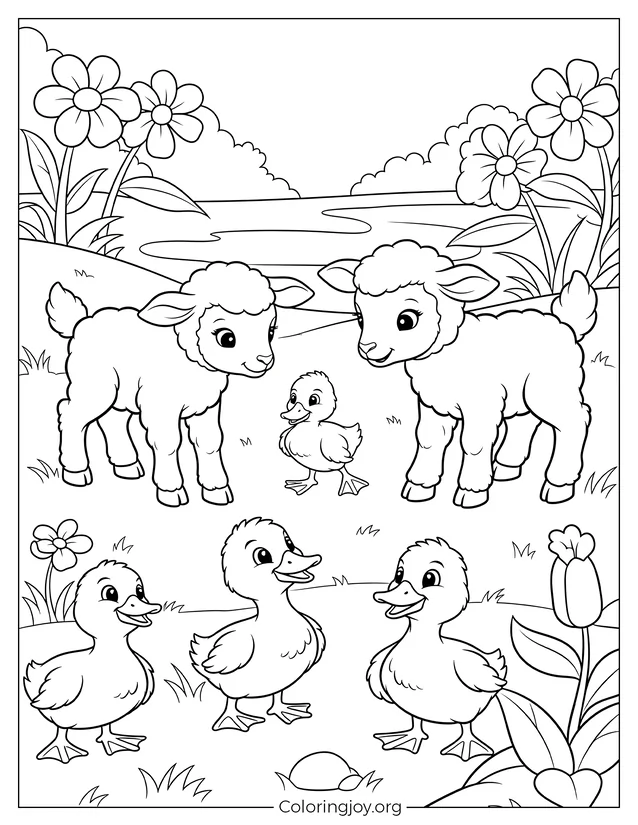
Playful Lambs and Ducklings
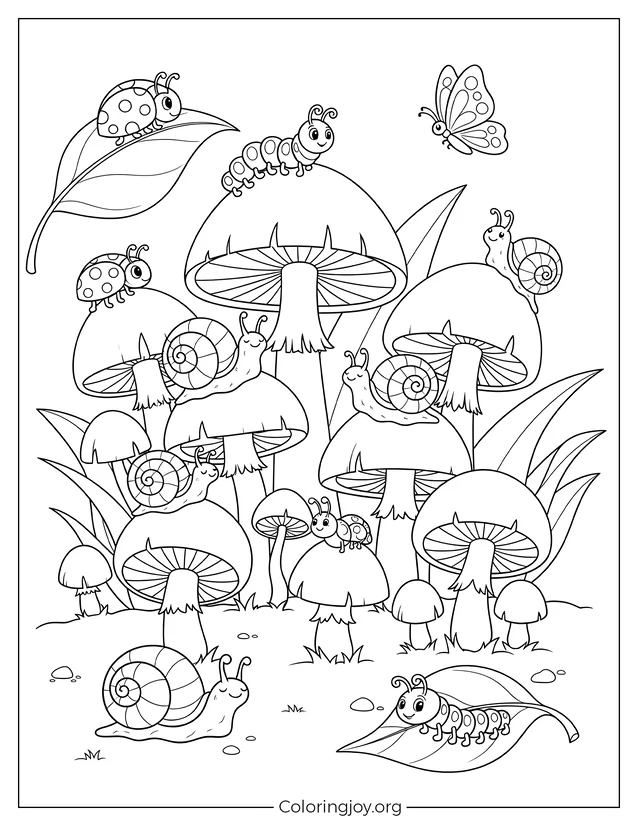
Fun Mushroom and Bug Scene
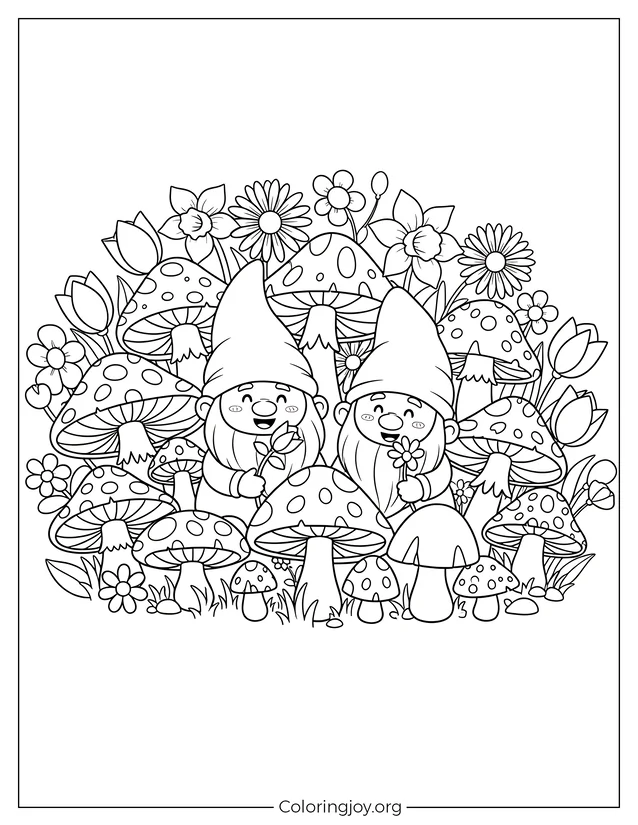
Friendly Gnomes and Mushrooms
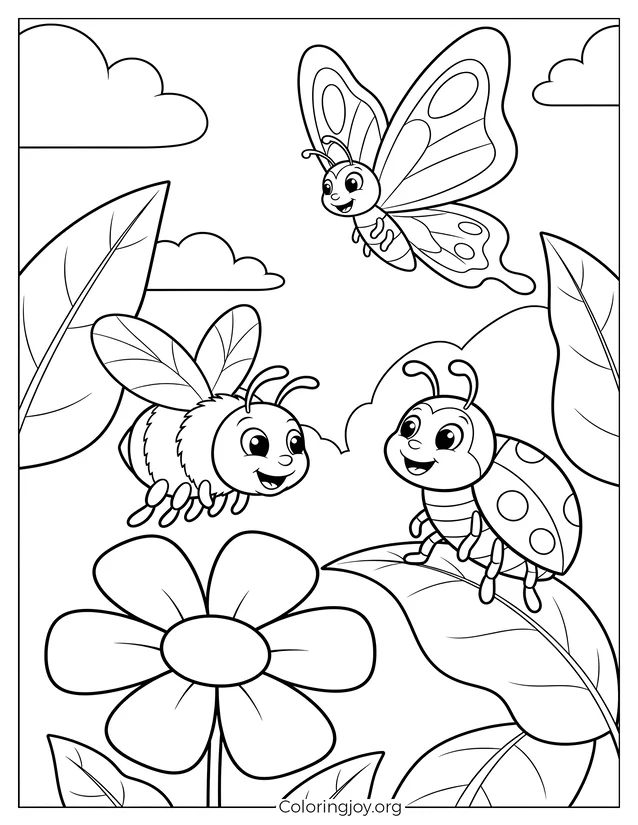
Smiling Bee and Ladybug in the Garden
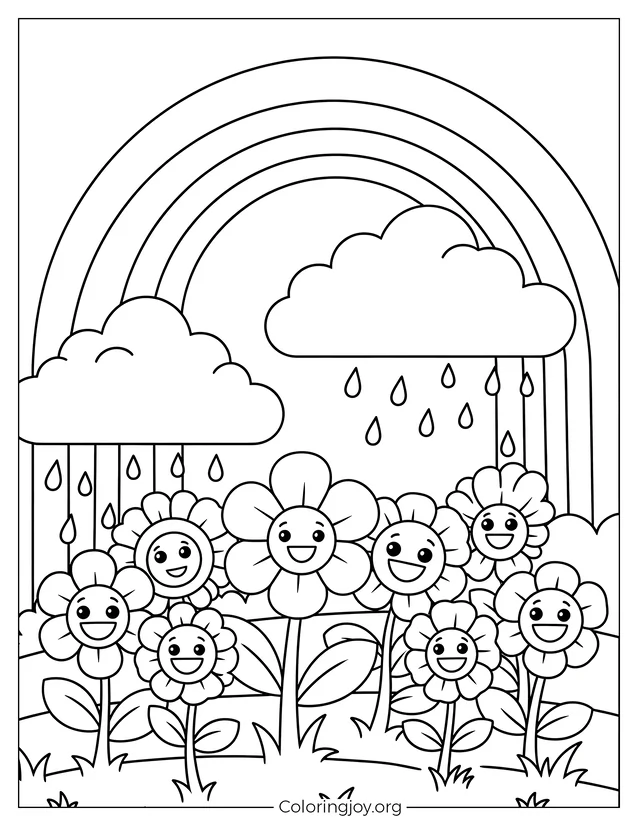
Easy Spring Rainbow Scene to Color for Kids
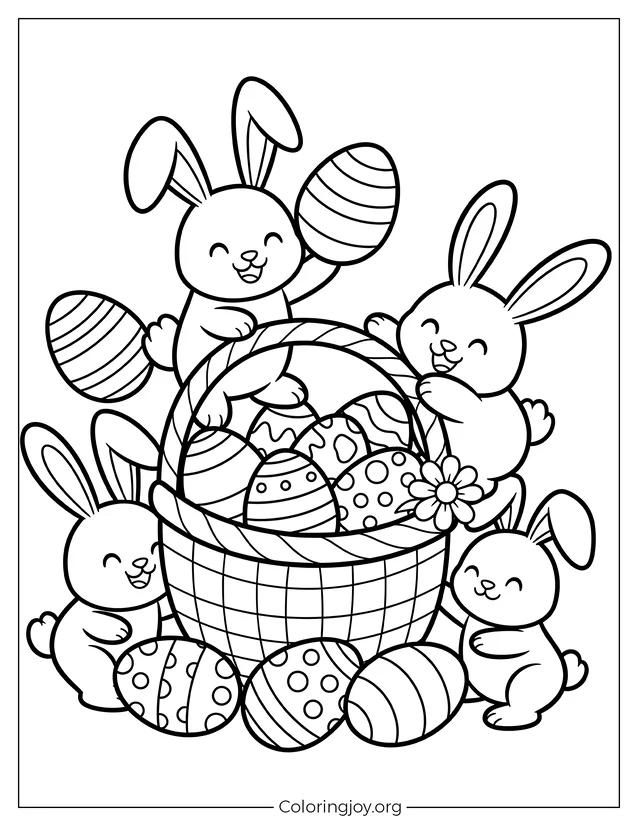
Happy Bunnies with Easter Basket

Easy Nature Scene Coloring Sheet for Kids
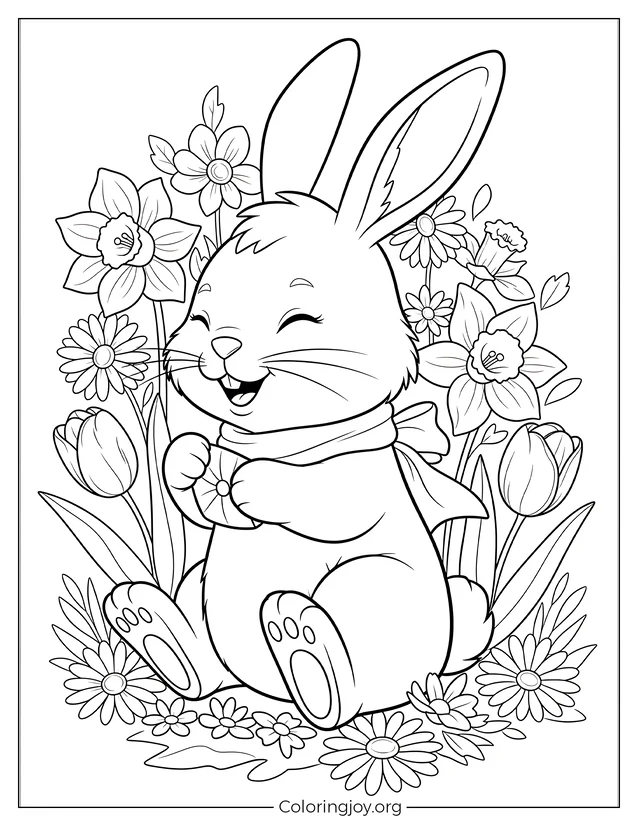
Detailed A Bunny Among Spring Blossoms
Simple Baby Chick Template for Kids
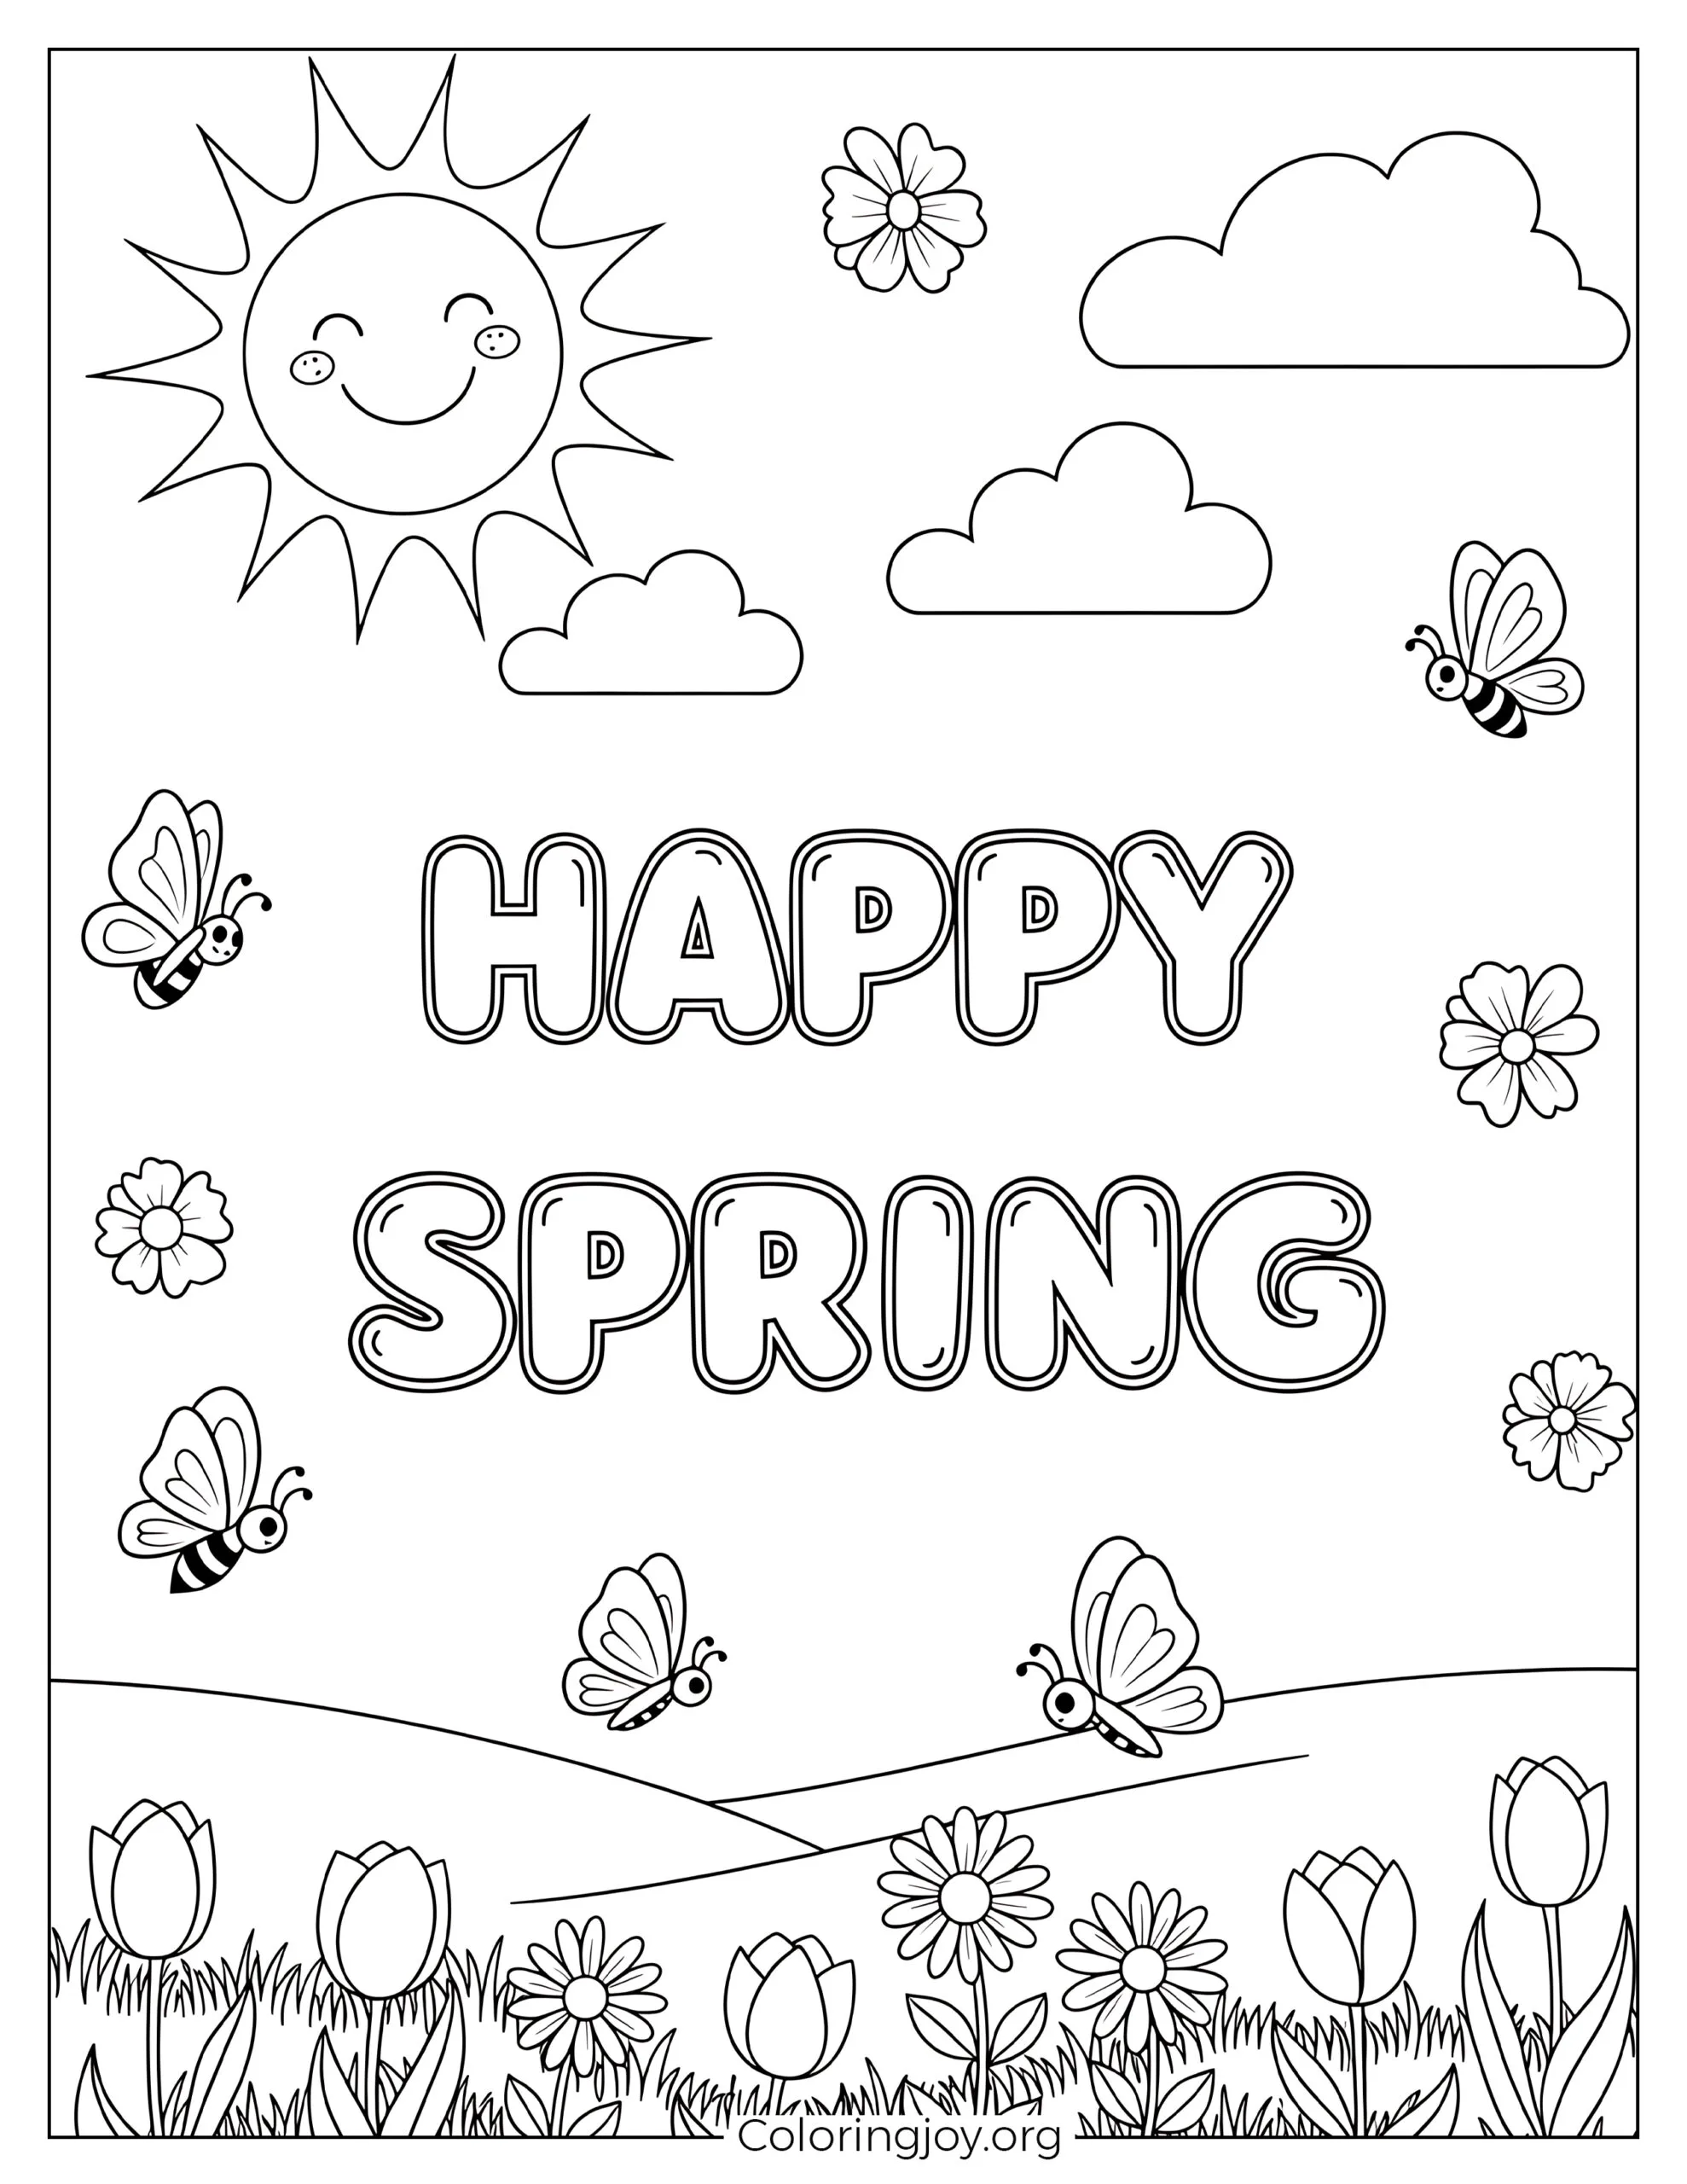
Easy Happy Spring Coloring Sheet
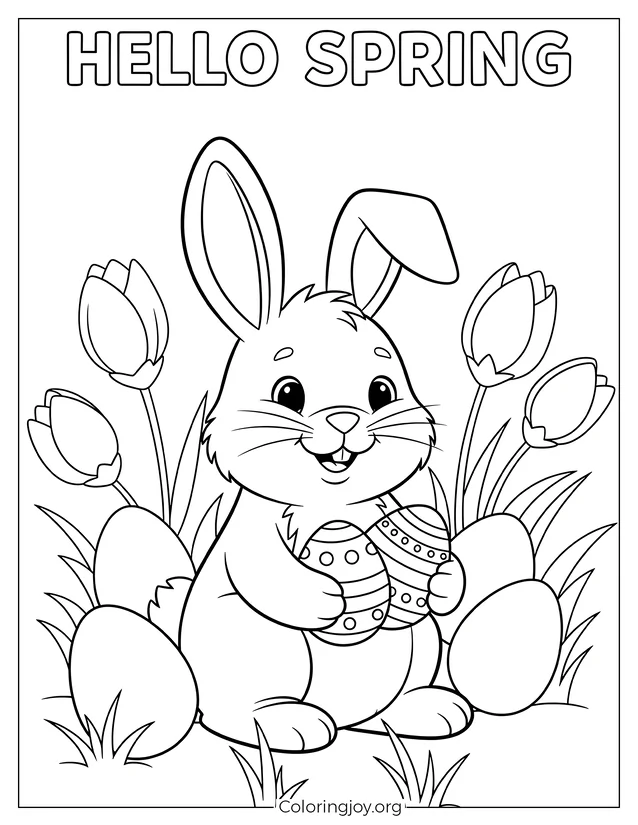
Hello Spring Bunny Template for Kids
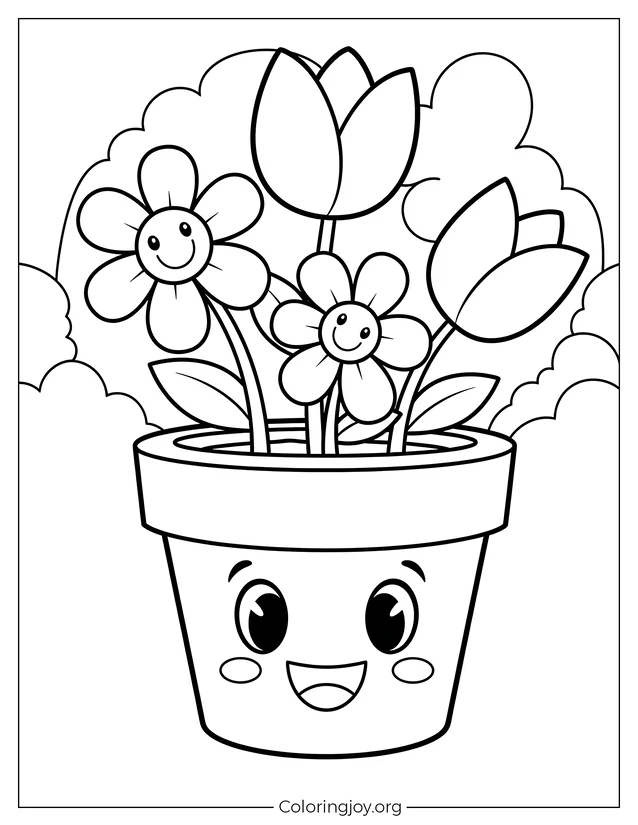
Cute Flower Pot with Happy Flowers

Easy Spring Basket Coloring Sheet
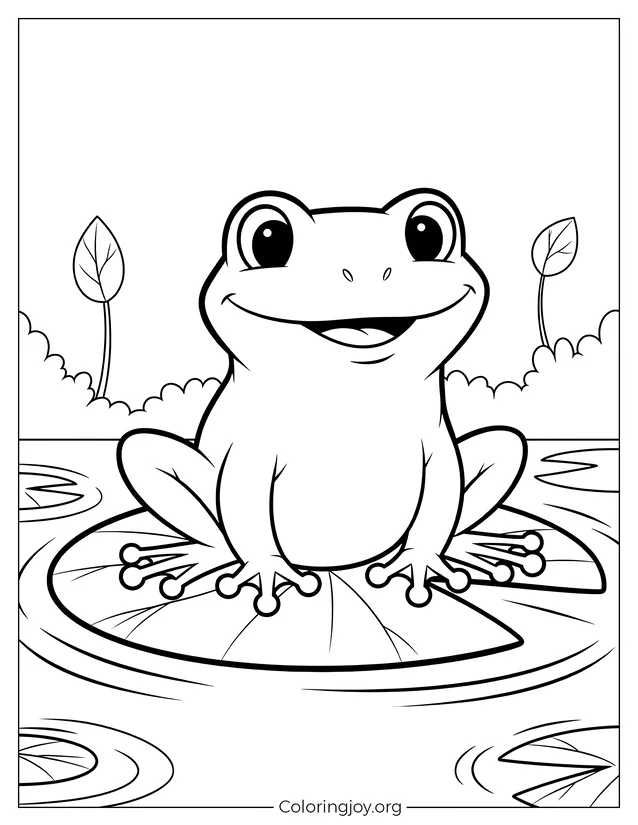
Frog on Lily Pad Coloring Sheet
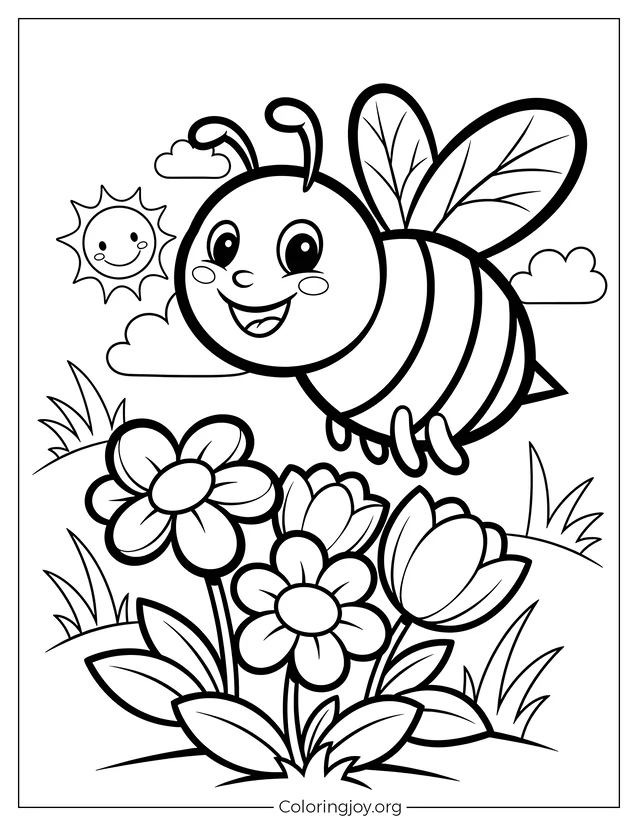
Smiling Bee and Spring Flowers
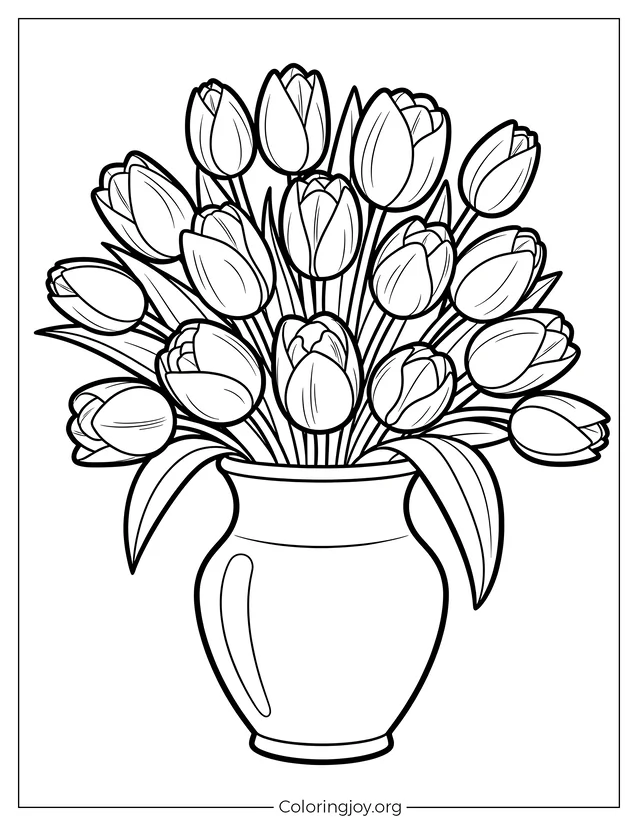
Cheerful Tulip Bouquet in Vase

Printable Spring Nest Scene
Spring Pond Duckling coloring page
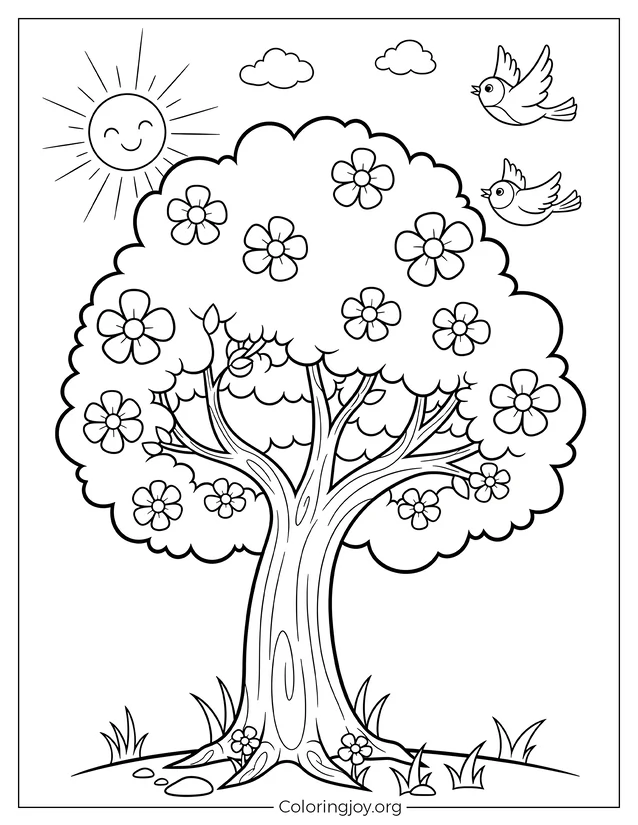
Beautiful Blossom Tree Printable
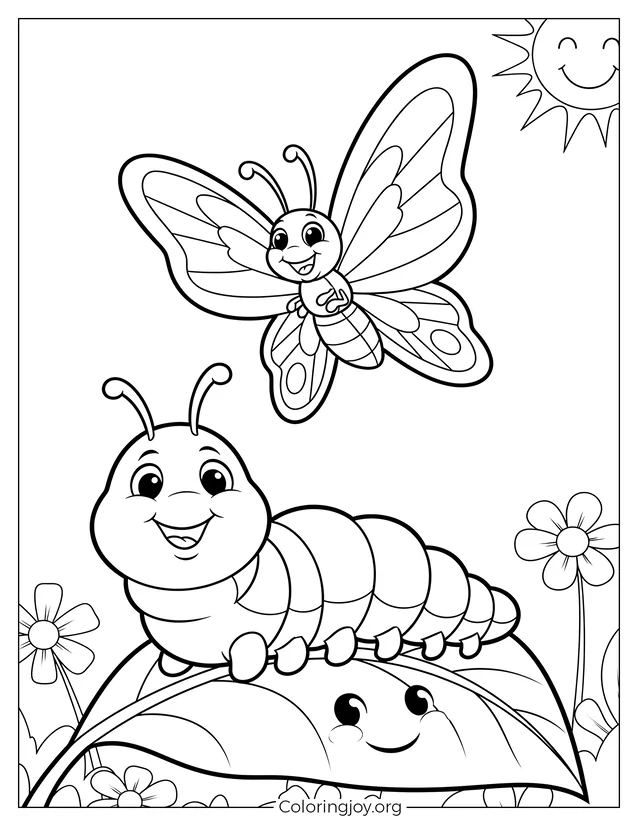
Cute Caterpillar and Butterfly
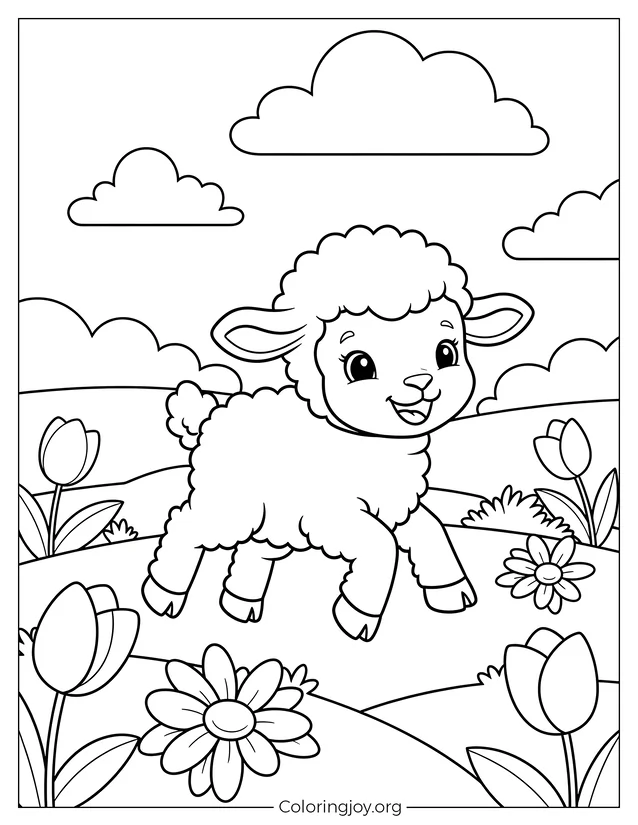
Happy Spring Lamb Scene PDF Printable
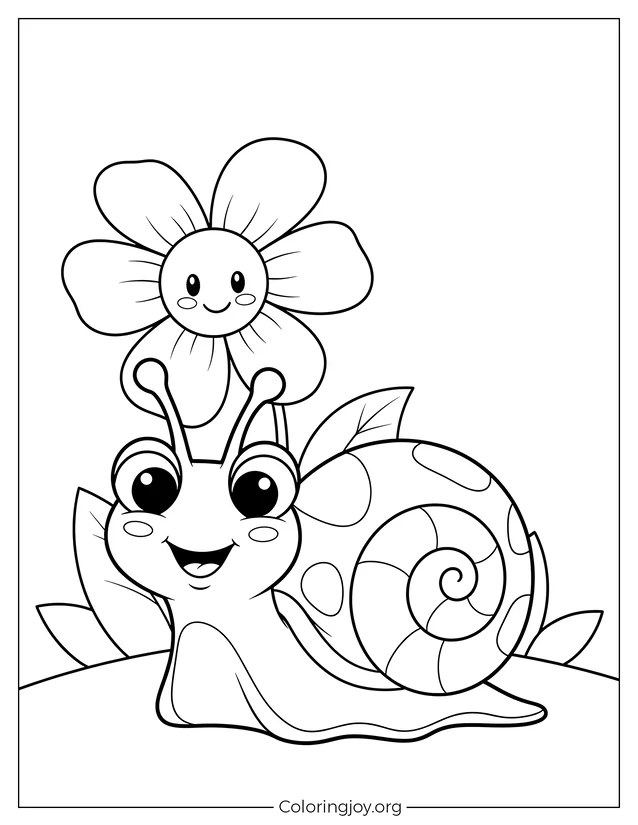
Cute Snail in the Garden
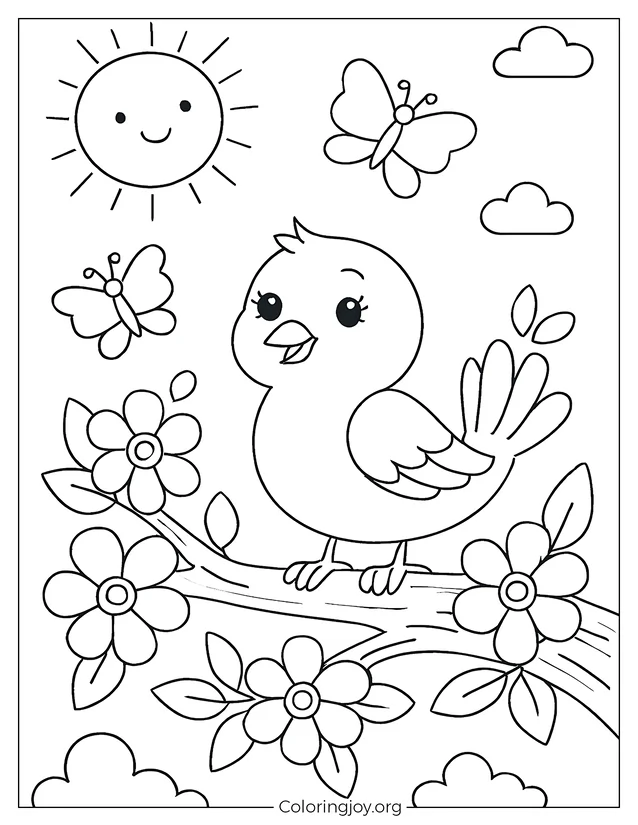
Spring Cheerful Bird & Flowers coloring sheet
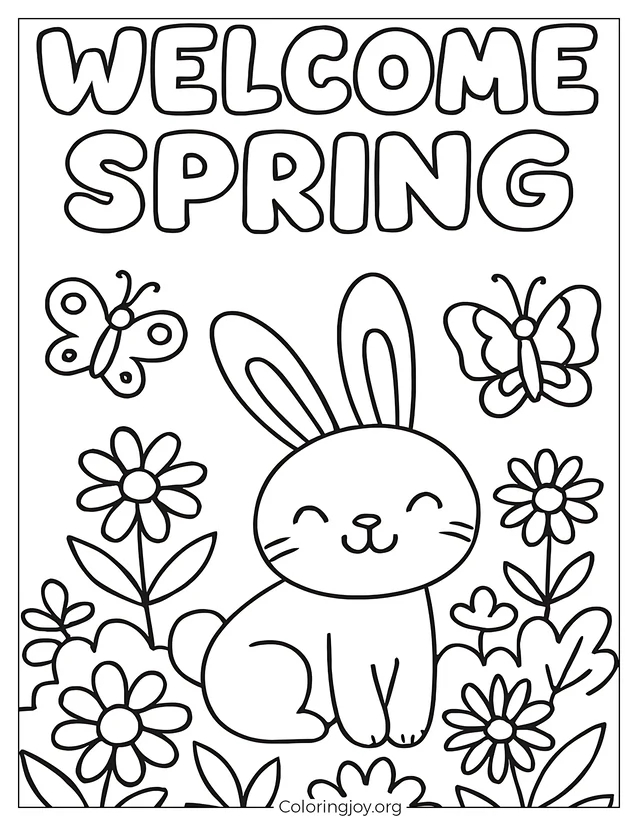
easy to color Spring Flowers and Bunny
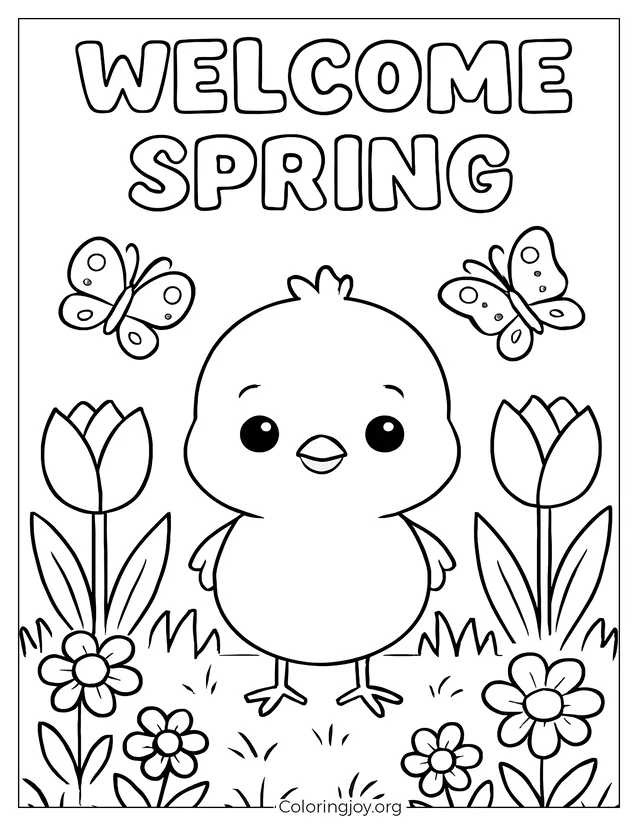
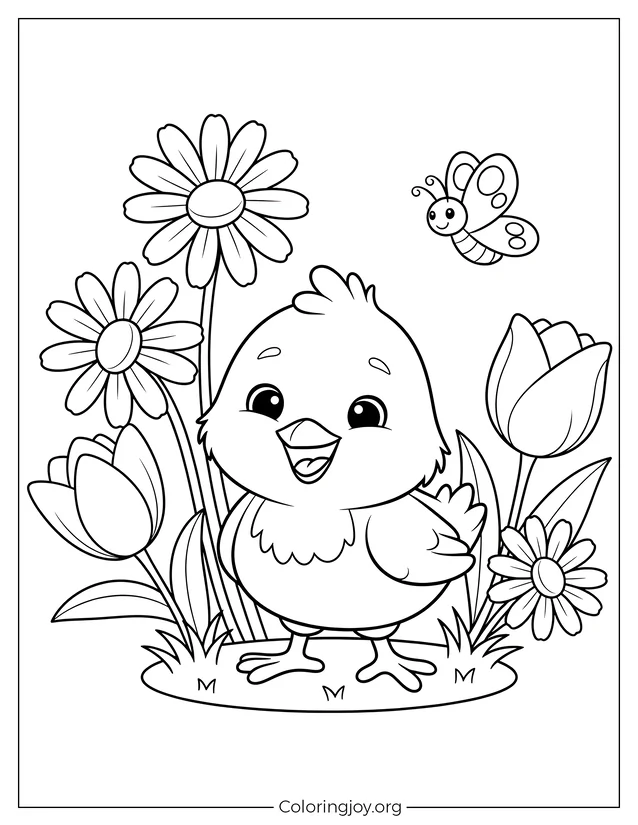
Chick and Flowers Spring
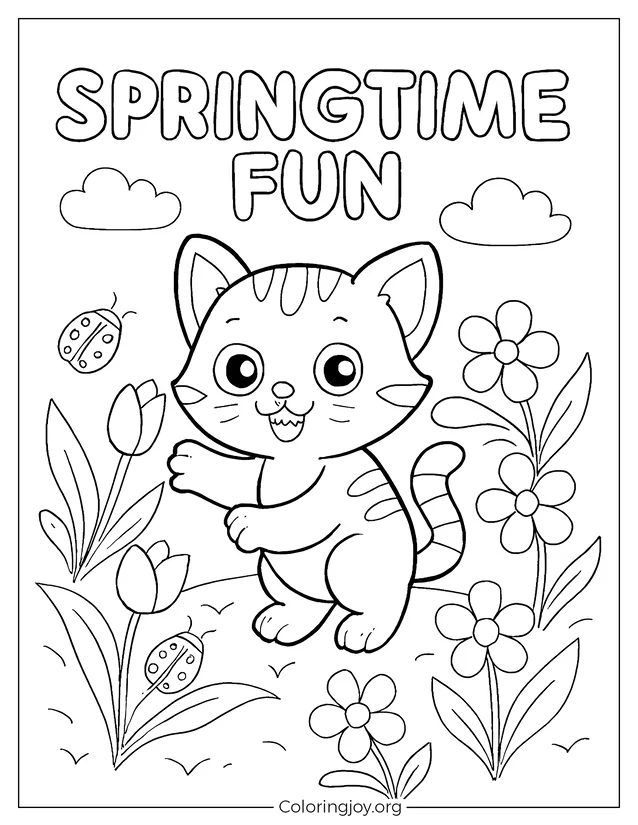
Springtime fun with Playful Kitten in Garden
Simple spring PDF Printable for kids
Creative Spring Crafts You Can Make with Coloring Pages
1. Spring Greeting Cards – DIY from Finished Pages
This is a cheerful way to share your spring art with friends. Greeting cards always feel more special when handmade.
Supplies:
- Colored spring pages
- Blank cardstock
- Glue stick
- Stickers or glitter
Fold your page in half or glue it onto cardstock for sturdiness. Write a message inside and decorate borders with stickers or glitter. Optional: add washi tape or metallic pens to highlight edges. A small Lilo & Stitch doodle in the corner makes it extra fun.
2. Floral Stickers Made from Your Spring Art
For kids or adults, stickers are always exciting to make. Your spring coloring pages can turn into a whole sheet of custom stickers.
Supplies:
- Finished coloring pages
- Clear tape or sticker paper
- Scissors
- Double-sided tape
Trace flowers or butterflies and cut them neatly. Cover with clear tape to protect colors, then attach double-sided tape to the back. These can brighten notebooks, planners, or laptops. Try adding glitter gel outlines or use them on a Lilo & Stitch binder.
3. Handmade Gift Tags with a Seasonal Touch
If wrapping gifts feels plain, handmade tags make presents pop. A bit of spring art goes a long way in making gifts personal.
Supplies:
- Colored pages
- Scissors
- Hole punch
- Ribbon or string
Cut small rectangles or shapes from your art. Punch a hole in the corner and thread ribbon through it. Write names or short notes in bold markers. For extra charm, outline designs with metallic pens or add glitter borders.
4. Spring Coasters – Pretty & Practical Craft
Main keyword like spring coloring page creations can be turned into everyday home items. Coasters are a simple way to enjoy your art daily.
Supplies:
- Colored pages
- Corkboard squares
- Glue
- Sealant or lamination sheets
Glue your art onto corkboard and trim edges. Apply a clear sealant to make them water-resistant. They’re perfect for tea time or spring gatherings. Add pastel borders or doodled Lilo & Stitch details for extra personality.
5. Mini Scrapbook of Your Spring Creations
Use your finished pages to capture memories in a creative scrapbook. This makes a lovely keepsake to enjoy year after year.
Supplies:
- Blank notebook or scrapbook
- Colored pages
- Glue stick
- Washi tape or stickers
Trim pieces of your artwork and paste them into the book. Add captions about what inspired you while coloring or who you crafted with. Decorate with washi tape, pressed flowers, or sequins. Each page becomes a bright story of your springtime.
6. Framed Spring Wall Art – Brighten Any Room
Turn your favorite coloring pages into cheerful wall art. It’s an easy way to decorate your home with your own creations.
Supplies:
- Colored spring pages
- Cardboard or mat backing
- Frame
- Washi tape or lace
Mount your colored page onto backing, then place it inside a frame. Store-bought or DIY frames both work well. Add borders with washi tape or lace to highlight your design. Glitter accents or a small hidden Lilo & Stitch sketch will add playful charm.
7. Planner Decor with Cut-Out Blossoms
Keep your planner lively by turning flowers into decorations. Each page can feel like spring when blossoms fill the margins.
Supplies:
- Colored floral pages
- Scissors
- Tape or glue dots
- Washi tape
Cut out flowers, leaves, or butterflies and tape them into your planner. Use them to mark important dates or highlight reminders. Washi tape or small stickers can frame the art for extra detail. Each spread becomes colorful and cheerful.
8. Spring Bookmarks – Fun for Nature Lovers
Bookmarks are quick to make and always handy. They make reading time a little brighter.
Supplies:
- Colored spring pages
- Cardstock backing
- Hole punch
- Ribbon or tassel
Glue your colored design onto cardstock and cut into long strips. Punch a hole at the top and tie ribbon through it. Outline designs with metallic pens or doodle tiny flowers. A playful Lilo & Stitch sketch on one can surprise readers.
9. Origami Frames for Your Favorite Designs
Origami frames are a creative way to showcase mini artworks. They can be displayed on shelves or tucked into scrapbooks.
Supplies:
- Colored spring pages
- Origami paper
- Glue stick
- Rhinestones or markers
Fold origami paper edges inward to form a neat border. Slip a cut-out section of your art inside and flatten. Decorate the folds with metallic pens for elegance. Rhinestones or gems can be glued on for sparkle.
10. Paper Lanterns with Spring Motifs – Lovely Decor
Lanterns bring a magical spring glow to any room. They’re perfect for cozy evenings or party decorations.
Supplies:
- Colored spring pages
- Tape or glue
- Scissors
- Battery tea lights
Roll the page into a cylinder and secure the edges. Cut small slits or patterns into the paper for light to shine through. Place a tea light inside for safe glowing decor. Add lace, ribbons, or even a Lilo & Stitch cut-out for fun.